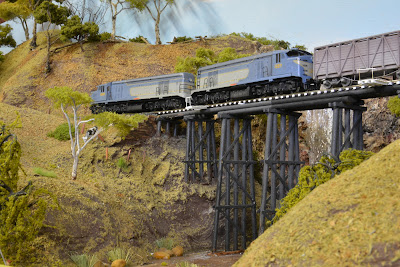
When I started building the layout I always wanted a trestle bridge. Provision was make for the bridge with the establishment of the creek section across one end. This end of the layout was to be a country scene to reflect distance on the layout. An “S” bend was incorporated to take away continuous straight track.
A few years
back the rock face and waterfall was redone.
A few year back in researching bridge plans for a mate, I was sent plans for a bridge that was the correct height. Bugger, my thoughts had come back to be true, my bridge was incorrect. For a time I accepted my error, as time went by it started to bug me. The original bridge was built using 5 mm dowel from Bunnings, a local hardware store. My next visit to the store I found the only dowel sizes available were 4 mm and 6 mm. I only needed to replace three or the seven piers of the bridge, I need all to be the same size. The project when back to being on hold.
In January I attended a Division one NMRA meeting, during the Show & Tell a member showed his timber bridge and explained how it was made. He used 5 mm dowel for the piers. Later I chatted with the member and enquired about his source of the 5 mm dowel. He indicated it was purchased from the craft section of a cheap shop. The next day Kerrie was sent out shopping with a sample to the cheap shops. After searching three shops, none was available. The penny dropped to check out eBay, a number of choices were available. A pack of 100 pieces 200mm long was ordered.
The opportunity was taken to redo some
of the scenery in the area, over time I think it’s good to refresh the
layout.
Trust you find the information helpful.
Arthur H.


No comments:
Post a Comment